
Our Products are generally provided as Zip file downloads which in all cases will need to be extracted and saved to your hard drive prior to installation. Details on the different file type provided and what to do with them are below.
.alp Files – These are Ableton Live Packs and will install directly into the Packs Section of the browser of Ableton Live. When you double click on them you will see a pop up window asking you to confirm that installation is ok as the files are described as “Legacy”. This is fine and you are ok to proceed, the packs are created using the format for an earlier version of Live and so remain compatible with the current version.
.amxd files – These are individual MaxforLive Devices and can be stored anywhere on your hard drive. We’d advise creating a folder for them and then adding that folder as a location within the Places section of Lives Browser.
V1.2 – Released 23rd April 2024
Initial Release 10th October 2023
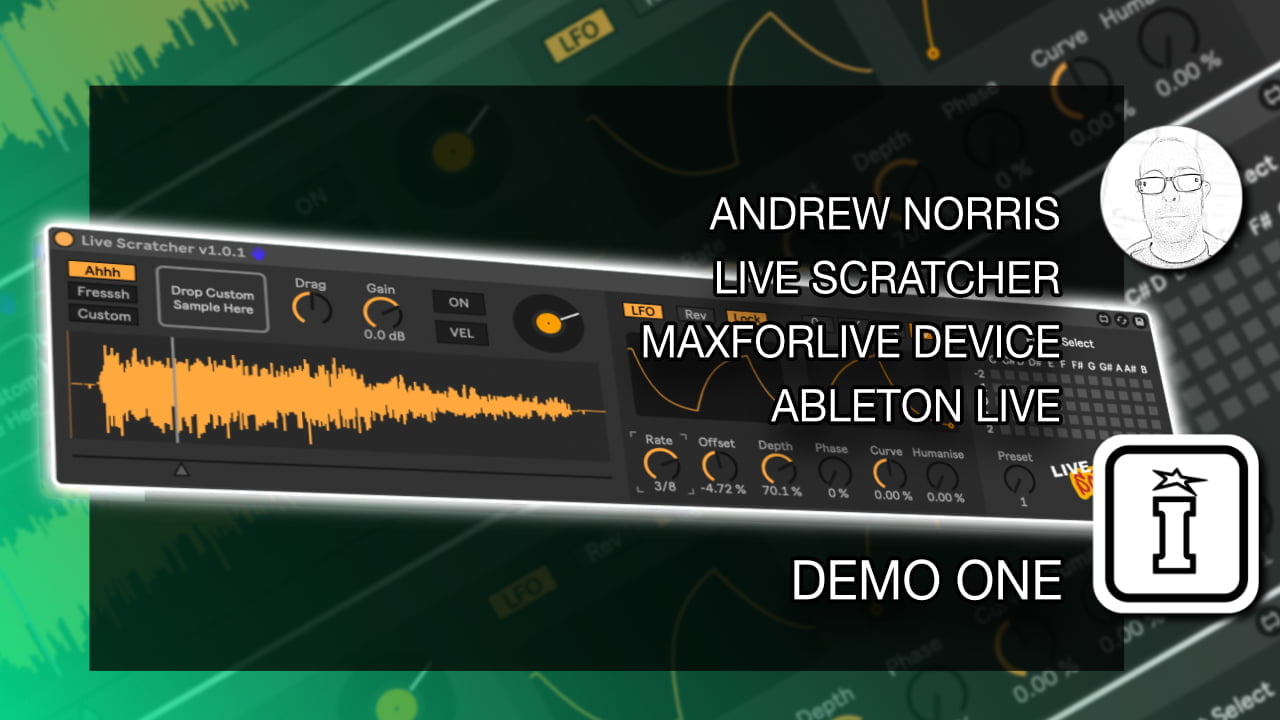
Live Scratcher is a Max for Live instrument for creating similar sounds to those a turntablist would make using a turntable and mixer.
This is achieved by simply moving, or ideally automating, the position of a playhead across a sample. At the same time, any MIDI notes received on C3 will ‘cut’ the sound in as the playhead moves back and forth.
Using a combination of the two in a MIDI clip can create anything from a simple Baby Scratch to a complicated, polyrhythmic Transformer!
The key to getting it to sound as authentic as possible is to create subtle variations in the note length and timing, as well as variations in the playhead movement itself. No scratch DJ, even the likes of DJ Qbert or DJ Premier, who are renowned for being very technically precise, will ever move the turntable to exactly the same positions each time. Much like any musician, it’s the slight imperfections that give the performance a ‘human’ feel. Similarly, creating note patterns and turntable / playhead movements with slight variations will help give you a much more ‘natural’ sound.
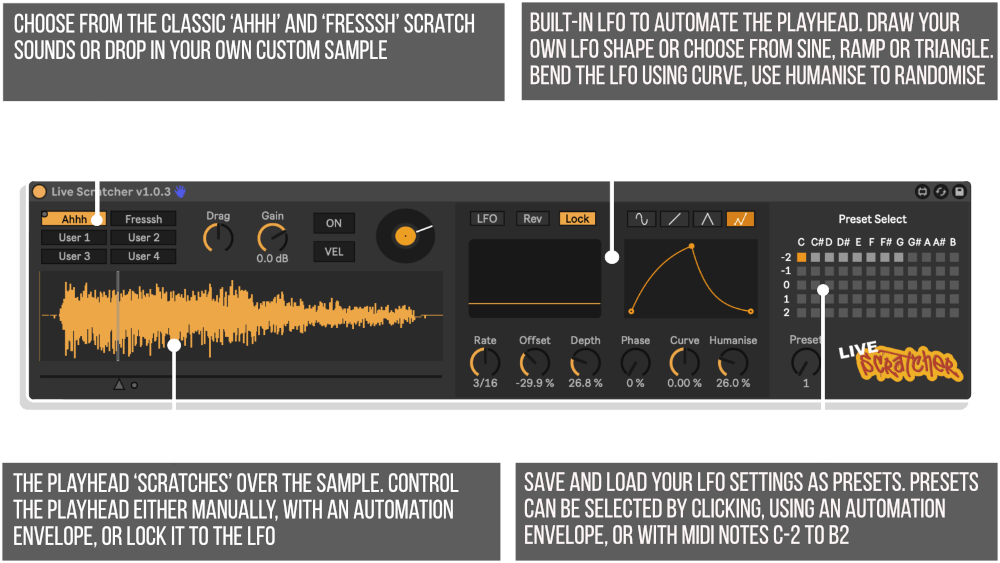
The device is split into 3 main areas:
Let’s look at each of these in turn to see what they do.
Here you can choose from the built-in samples (the classic ‘Ahhh’ and ‘Fresssh’ sounds), or load your own custom sample.
If you’re using a custom sample, try to keep sample length at around 1 second. Make sure you’re leaving a small section of silence too just before and just after the sample. This helps create a sharper ‘attack’ when the playhead passes over the start / end.
You can either play the playhead ‘live’ with the mouse, by using Push, or by using Ableton’s MIDI Mapping Mode to map it to an external MIDI controller. And then tapping out a rhythm on note C3.
Or you can prepare and automate the whole thing in a MIDI clip. Move the playhead using Ableton Live’s automation envelopes to control the ‘Turntable’ parameter in either Session or Arrangement View. Then enter notes in the clip to trigger the sound on / off at rhythmical intervals.
You can also choose to automate the playhead using the built-in LFO. Here, the playhead is locked to the LFO and you set the rate, depth, offset, phase, etc. – all the controls you would typically find in any LFO device – to fine tune the playhead’s movement.
You can choose from 3 typical LFO shapes (similar to the movements a turntablist would typically make): Sine, Ramp and Triangle, but you can also create your own LFO shape using the breakpoint editor. Custom shapes (especially curvy ones!) can help the movements sound more natural.
Here you can select from 8 built-in presets which have various LFO parameters already set and custom LFO shapes already drawn-in, or you can store and recall your own. Any presets you store are saved along with your project.
Presets can be recalled by either clicking, by using the ‘Preset’ parameter in clip automation, or with MIDI notes C-2 through to B2 (60 notes in total to cover each of the presets). This enables you to very easily switch LFO settings live or via automation.
Check out the example project (Live 12 required) to help get you started. This has a collection of pre-made MIDI clips, all with different note patterns and playhead automation to give you an idea of what it’s possible to do.
Please refer to the user manual for a more detailed explanation of each of the device’s parameters.
4 reviews for Live Scratcher by Andrew Norris
DJ CAPON –
Excellent, intuitive tool with so many scratchy possibilities streamlined! Only issue is that the example Live Set file mentioned in the manual doesn’t seem to be included but the tool is easy enough to work out after some time.
Darren E Cowley (Admin) –
The live set provided is for Live 12 as detailed on the product page.
DJ CAPON –
Ignore me, I was looking for a Live Project rather than inside the pack itself, all working now! Already having tons of fun, cheers!
David Louca –
Great bit of kit. Simple to use. Works well!
Murph Enriquez –
OMG!!!! This is amazing. I can finally scratch my hip-hop beats. Such a great bit of kit, very intuitive to use. It’s wickedy-wickedy-wicked – Five stars