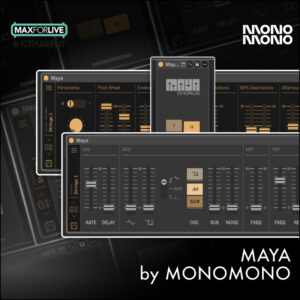
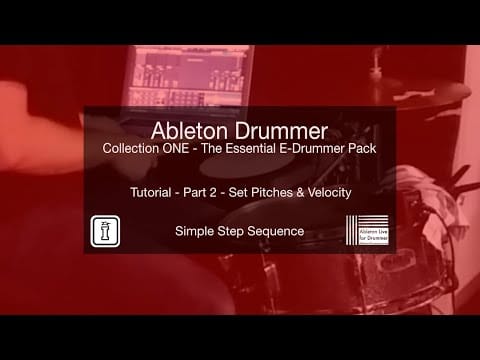
Ableton Drummer Collection One
THE ESSENTIAL TOOLKIT FOR E-DRUMMERS
Step up your e-drumming game with the Ableton Drummer Collection ONE — a bundle of MaxforLive MIDI devices designed by Tobias Hunke to give you full control over your electronic drum performance in Ableton Live. From toggling loops, sequencing notes, cycling sounds, tuning MIDI, and more — this collection is an essential toolkit for creative, reliable, and dynamic drumming performances.
Includes:
- Drumrack Toggle Loop
- Drumrack Tuner
- Impulse Tuner
- Toggle All Notes
- Round Robin V2
- Simple Step Sequence (Short & Long)
USER GUIDE: Ableton Drummer Collection ONE USER GUIDES
Additional information
| MaxforLive | Control Devices |
|---|---|
| Ableton Live Compatibility | Ableton Live 10 Standard with MaxforLive, Ableton Live 10 Suite, Ableton Live 11 Standard with MaxforLive, Ableton Live 11 Suite, Ableton Live 12 Standard with MaxforLive, Ableton Live 12 Suite |
| Controllers | Ableton Push THREE Controller, Ableton Push TWO |
PRICE: £38.00


Product reviews
No reviews yet. Be the first to review this product.
Ableton Drummer Collection One
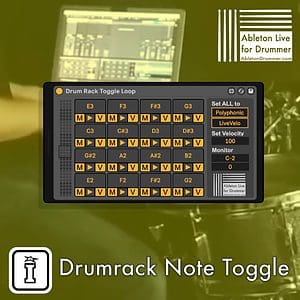
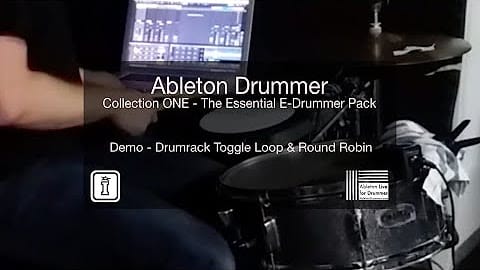
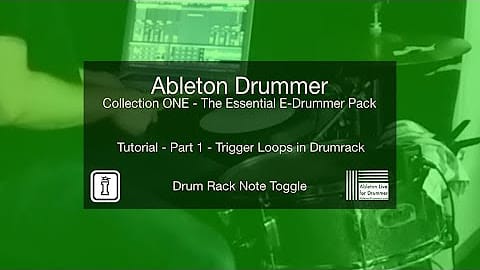
DRUMRACK TOGGLE LOOP
The first MaxforLive device in the Ableton Drummer Collection ONE lets you toggle loops on/off in a Drumrack via included Simpler Instrument. If you are using a midi controller like an electronic drum kit this could come handy as you can easily re-pitch midi notes inside a midi track. Especially using electronic drums this device solves the big issue of “Note Off” messages usually being send from a few milliseconds to a max of a few seconds after the “Note On” message.
The Drumrack Toggle Loop device filters the “Note Off” from external midi and just uses the “Note On” messages and converts those to Note On and Note Off alternately. This way loops will be toggled on and off.
How to use?
Just place the Drumrack Toggle Loop on a MIDI track in front of a Drumrack instrument and all incoming notes not will trigger samples/loops in a toggle mode, meaning every hit, push or Note On will trigger a Note On and Note Off alternately.
Polyphonic and Monophonic mode
Per default all pads are set to polyphonic mode – this means as many loops as you wish (up to 128) could be played at the same time. But as you want to create some music here you might want to have not all loops playing at the same time. You can archive this by activating the “M” which stands for monophonic mode. Of all pads where the “M” mode is activated only the last one triggered will play and automatically turn off the loop before which was in “M” mode as well.
All other loops which aren`t set to “M”/monophonic mode won`t be affected.
Individual note pitches
You can change the incoming velocity of every Midi note to a pre-set velocity. This can translate to the playback volume of your sample/loop. When you active the “V” (Velocity) button on a pad this function is activated for this individual pitch. A field for putting in a pre-set velocity value will be now shown, where you can edit the outgoing velocity.
ONLINE MANUAL – CLICK HERE
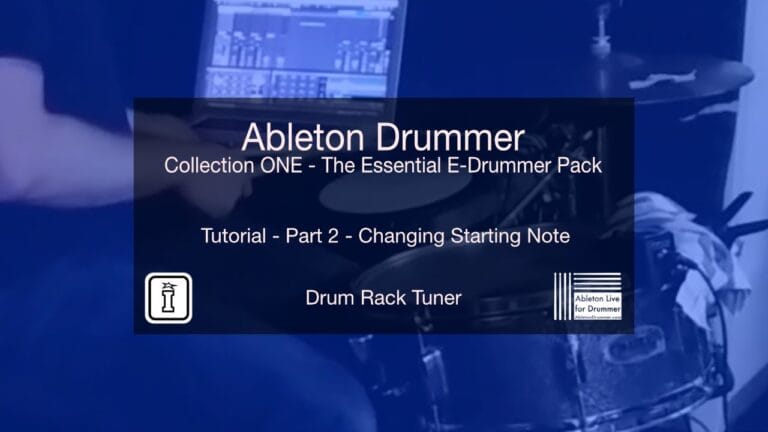
DRUMRACK TUNER
The “Drumrack Tuner” lets you change the pitch of incoming MIDI notes to (edit-able) note pitches to use in conjunction (not only) with Abletons Drumrack.
How to use?
Just place the Drumrack Tuner on a MIDI track. in front of a Drumrack instrument.
Re-pitch incoming & Outgoing MIDI notes
Under each pad you can edit the note pitch value, which will be re-pitched to the right pads note above.
You can change the outgoing triggered pitch of each drum pad individually with the same techniques like just described before for the incoming midi notes. This will make sense if you use Drumrack sample presets which are not having all samples in the the same 4 x 4 pad format.
(Un-) blocking all other note pitches
In some use cases you might want to block all other incoming notes which are not being re-pitched by the MaxforLive device. By this you can avoid conflicting note pitches, triggering the same fields with different pads/keys/e-drums.
Per default all non-selected notes pitches are not being send “THROUGH”. If you wish to have all notes to pass through you can just click on the “THROUGH” button to turn this function on.
ONLINE MANUAL – CLICK HERE
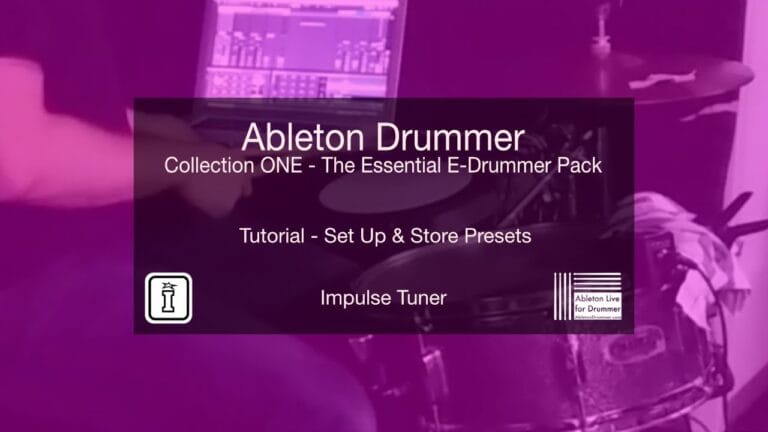
IMPULSE TUNER
The “Impulse Tuner” lets you change the pitch of incoming MIDI notes to the required pitches for triggering Abletons Impulse. Those pitches consists of a C major scale starting from C3 (C3, D3,E3, F3, G3, A3, B3 + C4).
As those pitches are fixed to trigger the 8 fields of the Impulse you can’t change the outgoing pitches in this Max for Live device but change the note pitches of incoming midi notes real quick and save this as a preset in your User Library.
How to use?
Just place the Impulse Tuner on a MIDI track. in front of an Impulse instrument.
ONLINE MANUAL – CLICK HERE
TOGGLE ALL NOTES
The “Toggle All Notes” lets you toggle loops on/off in a Drumrack via included Simpler Instrument. If you are using a midi controller like an electronic drum kit this could come handy as you can easily re-pitch midi notes inside a midi track.
Especially using electronic drums this device solves the big issue of “Note Off” messages usually being send from a few mili-seconds to a max of a few seconds after the “Note On” message.
The “Toggle All Notes” device filters the “Note Off” from external midi and just uses the “Note On” messages and converts those to Note On and Note Off alternately. This way loops will be toggled on and off.
How to use?
Just place the Toggle All Notes on a MIDI track in front of a Drumrack instrument and all incoming notes not will trigger samples/loops in a toggle mode, meaning every hit, push or Note On will trigger a Note On and Note Off alternately.
ONLINE MANUAL – CLICK HERE
ROUND ROBIN V2
The penultimate MaxforLive device in the Ableton Drummer Collection ONE lets you trigger cycles of up to 5 midi note pitches from up to 8 trigger notes. Possible use cases vary from cycling via different drum samples e.g. from one resampled acoustic drum, triggering short melodies or triggering different sounds in a row/cycle via just one incoming Midi note e.g. from an (eletronic drum) pad or button from an external midi hardware controller.
ONLINE MANUAL – CLICK HERE
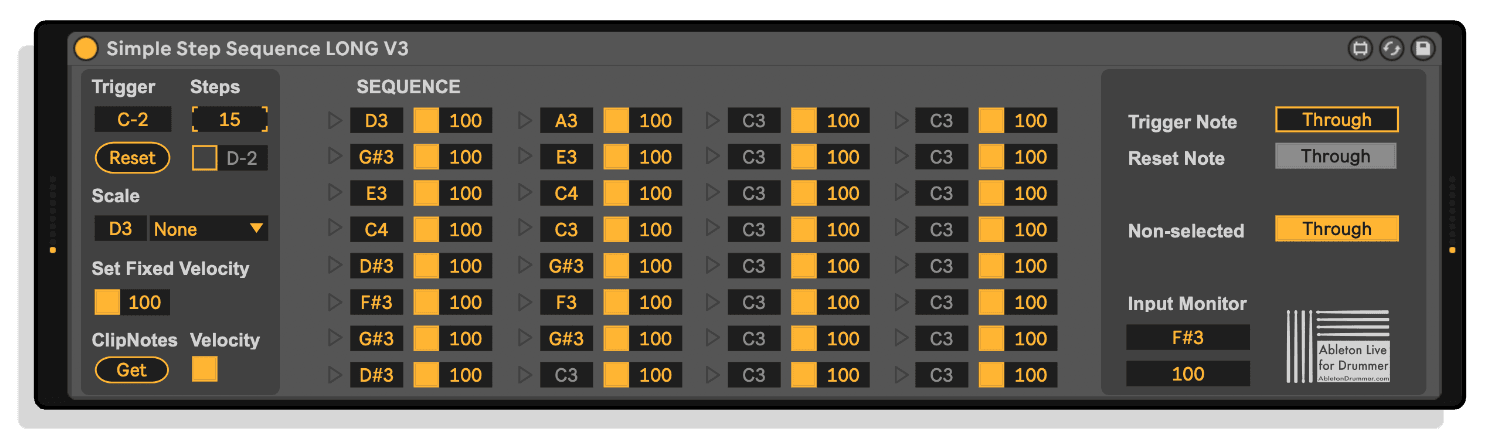
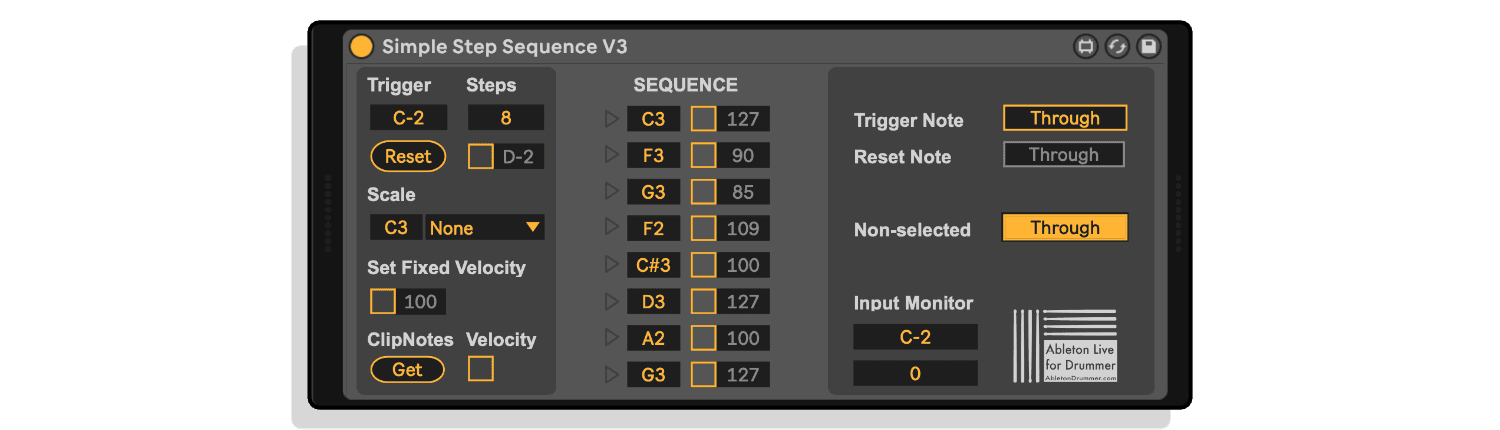
SIMPLE STEP SEQUENCE X 2 (SHORT & LONG)
The Simple Step Sequence device lets you step through a midi note sequence of up to 8 (the”Long” version up to 32) notes pitches triggered by one incoming midi note from one certain pre-set pitch.
How to use?
Just place the Simple Step Sequence device in front of an Ableton instrument e.g. a Grand Piano Sampler preset.
Set the trigger note – Under “Trigger” you can set the note pitch which will trigger the sequence.
Set the number of steps – Under “Steps” you can set the number of steps/notes for the sequence to step through.
Note Pitches:
You have 3 ways to edit the note pitches of the sequence:
- Individual – You can set individual pitches just right in the pitch box for every note
- Scale – You can set the sequence to a certain scale. Pick the root note and a scale and the sequenze will be set to this.
- ClipNotes import – Select notes you want to import in a midi clip, while keeping those notes selected go back to the Simple Step Sequence device and click on the “Get” button on the bottom left.
Velocity:
You can decide if you want to use your live-playing/triggering velocity or if you want to use a preset
You have 3 options to edit the pre-set velocity:
- Set a fixed velocity for all notes – check the “Set Fixed Velocity” box. This will activate all “Set” velocity boxes for all notes as well as de-select all when turned off. The velocity value box is now activated and you can put in your desired values. If active changes will change all individual velocity boxes for all notes.
- Set a fixed velocity for individual notes – You can activate the pre-set velocity function for every note/step of the sequence individually by (de-) activating the boxes next to each pitch field on the right. This will (de-)activate the velocity value box for each note, where you can put in your desired velocity values.
- Import the velocity when you import note pitches from a midi clip – When you import midi notes from clips you can import their velocity values as well. For this you need to turn on the “Velocity” box next to the ClipNotes “Get” button before you import the notes. By default turning on this box will as well switch on the “Set Fixed Velocity”/ all pre-set velocity boxes for each individual note.
Through functions:
- Trigger Note – In some use cases you want the “Trigger Note” which is used for triggering the step sequence being send to the instrument to trigger a sound/note as well. You can (de-) activate this function via the Trigger Note “Through” button.
- Reset Note – This works the same like for the trigger note. For this function the ‘Reset-by-Note’ needs to be activated.
- Non-Selected – If you have a midi track where you just want the notes from the selected sequence notes to trigger sounds you can block all other notes coming into this track via having the “Through” button deactivated. This way only the notes selected in the sequence will get ‘through’ = trigger sounds. If you have more then one midi effects on one track which are triggering/for creating sounds you can activate the “Non-selected Through” button if you need other notes to pass through.
ONLINE MANUAL – CLICK HERE
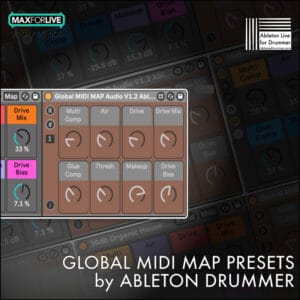
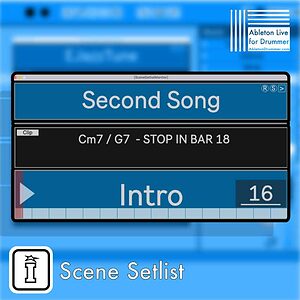
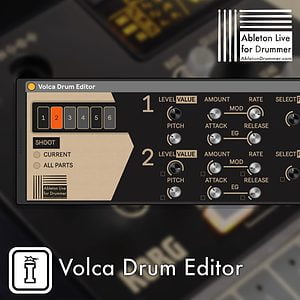
ALSO AVAILABLE: SCENE SETLIST | KORG VOLCA DRUM EDITOR | DRUMRACK TOGGLE | GLOBAL MIDI MAP PRESETS
Frequently Asked Questions
A: A bundle of MaxforLive MIDI devices designed to enhance e-drumming and live performance workflows in Ableton Live.
A: Yes, this is a MaxforLive bundle and requires MaxforLive to run.
A: MaxforLive is a platform that integrates the visual programming environment Max with Ableton Live, allowing users to create and use custom audio, MIDI, and control devices.
A: You can explore more of Ableton Drummer’s tools and devices here: Ableton Drummer
Important Information
Initial Release – July 2019
Our Products are generally provided as Zip file downloads which in all cases will need to be extracted and saved to your hard drive prior to installation. Details on the different file type provided and what to do with them are below.
.alp Files – These are Ableton Live Packs and will either install directly into the Packs Section of the browser of Ableton Live or ask you to save them to your hard drive. For packs that install to the library, when you double click on them you will see a pop up window asking you to confirm that installation is ok as the files are described as “Legacy”. This is fine and you are ok to proceed, the packs are created using the format for an earlier version of Live and so remain compatible with the current version.
.amxd files – These are individual MaxforLive Devices and can be stored anywhere on your hard drive. We’d advise creating a folder for them and then adding that folder as a location within the Places section of Lives Browser.
END-USER LICENSE AGREEMENT FOR ISOTONIK STUDIOS SOFTWARE PRODUCTS.
PLEASE READ THE TERMS AND CONDITIONS OF THIS LICENSE AGREEMENT CAREFULLY BEFORE CONTINUING WITH THIS PROGRAM INSTALL.
This End-User License Agreement (referred to as “EULA”) is a legal agreement between an individual or a single entity (referred to as “LICENSEE”) and Isotonik Studios for the Isotonik Studios software product(s) which may include associated software components, media, printed materials, and “online” or electronic documentation (referred to as “SOFTWARE PRODUCT”). By installing, copying, or otherwise using the SOFTWARE PRODUCT, the LICENSEE agrees to be bound by the terms of this EULA.
This EULA represents the entire agreement concerning the program between the LICENSEE and Isotonik Studios and it supersedes any prior proposal, representation, or understanding between the parties. If the LICENSEE does not agree to the terms of this EULA, the LICENSEE should not install or use the SOFTWARE PRODUCT.
The SOFTWARE PRODUCT is protected by copyright laws and international copyright treaties, as well as other intellectual property laws and treaties. The SOFTWARE PRODUCT is licensed, not sold.
- GRANT OF LICENSE.
The SOFTWARE PRODUCT is licensed as follows:
(a) Installation and Use. Providing that the LICENSEE has paid any applicable license fees, Isotonik Studios grants the LICENSEE the right to install and use copies of the SOFTWARE PRODUCT on up to two computers in the LICENSEE’s possession that are running a validly licensed copy of the operating system for which the SOFTWARE PRODUCT was designed [e.g., Windows 10, macOS]. The computer(s) must be owned by the LICENSEE.
(b) Backup Copies. The LICENSEE may also make copies of the SOFTWARE PRODUCT as may be necessary for backup and archival purposes.
- DESCRIPTION OF OTHER RIGHTS AND LIMITATIONS.
(a) Maintenance of Copyright Notices. The LICENSEE must not remove or alter any copyright notices on any and all copies of the SOFTWARE PRODUCT.
(b) Distribution. The LICENSEE may not distribute registered copies of the SOFTWARE PRODUCT to third parties.
(c) Prohibition on Reverse Engineering, Decompilation, and Disassembly. The LICENSEE may not reverse engineer, decompile, or disassemble the SOFTWARE PRODUCT, except and only to the extent that such activity is expressly permitted by applicable law notwithstanding this limitation.
(d) Rental. The LICENSEE may not rent, lease, or lend the SOFTWARE PRODUCT.
(e) License transfer The LICENSEE may not transfer their license to the SOFTWARE PRODUCT to any third party. Any attempt to do so will be considered a violation of this EULA.
(f) Support Services. Isotonik Studios may provide the LICENSEE with support services related to the SOFTWARE PRODUCT for a period of 12 months following the date of purchase. Any supplemental software code provided to the LICENSEE as part of the Support Services shall be considered part of the SOFTWARE PRODUCT and subject to the terms and conditions of this EULA.
(g) Compliance with Applicable Laws. The LICENSEE must comply with all applicable laws regarding use of the SOFTWARE PRODUCT.
- TERMINATION Without prejudice to any other rights, Isotonik Studios may terminate this EULA if the LICENSEE fails to comply with the terms and conditions of this EULA. In such event, the LICENSEE must destroy all copies of the SOFTWARE PRODUCT in the LICENSEE’s possession.
- COPYRIGHT All title, including but not limited to copyrights, in and to the SOFTWARE PRODUCT and any copies thereof are owned by Isotonik Studios or its suppliers. All title and intellectual property rights in and to the content which may be accessed through use of the SOFTWARE PRODUCT is the property of the respective content owner and may be protected by applicable copyright or other intellectual property laws and treaties. This EULA grants the LICENSEE no rights to use such content. All rights not expressly granted are reserved by Isotonik Studios.
- NO WARRANTIES Isotonik Studios expressly disclaims any warranty for the SOFTWARE PRODUCT. The SOFTWARE PRODUCT is provided ‘As Is’ without any express or implied warranty of any kind, including but not limited to any warranties of merchantability, noninfringement, or fitness of a particular purpose. Isotonik Studios does not warrant or assume responsibility for the accuracy or completeness of any information, text, graphics, links or other items contained within the SOFTWARE PRODUCT. Isotonik Studios makes no warranties respecting any harm that may be caused by the transmission of a computer virus, worm, time bomb, logic bomb, or other such computer program. Isotonik Studios further expressly disclaims any warranty or representation to the LICENSEE or to any third party.
- LIMITATION OF LIABILITY In no event shall Isotonik Studios be liable for any damages (including, without limitation, lost profits, business interruption, or lost information) arising out of the LICENSEE’s use of or inability to use the SOFTWARE PRODUCT, even if Isotonik Studios has been advised of the possibility of such damages. In no event will Isotonik Studios be liable for loss of data or for indirect, special, incidental, consequential (including lost profit), or other damages based in contract, tort or otherwise. Isotonik Studios shall have no liability with respect to the content of the SOFTWARE PRODUCT or any part thereof, including but not limited to errors or omissions contained therein, libel, infringements of rights of publicity, privacy, trademark rights, business interruption, personal injury, loss of privacy, moral rights or the disclosure of confidential information.