Learn how to transfer and organize Max for Live devices on your Push 3 Standalone. This step-by-step guide covers compatibility checks, installation, and device management.
Complete Guide to Installing and Managing M4L Devices on Push 3
Getting your favorite Max for Live devices onto your Push 3 Standalone opens up a world of creative possibilities. While the process is straightforward once you know the steps, there are some important compatibility considerations to keep in mind. In this tutorial, we’ll walk you through everything you need to know about transferring, organizing, and loading Max for Live devices directly onto your standalone Push 3 unit.
Understanding Push 3 Compatibility
Before you start transferring devices, it’s essential to know that not all Max for Live devices work with Push 3 Standalone. The standalone environment has different requirements than running Max for Live within Ableton Live on your computer, and unfortunately, not every developer clearly indicates compatibility.
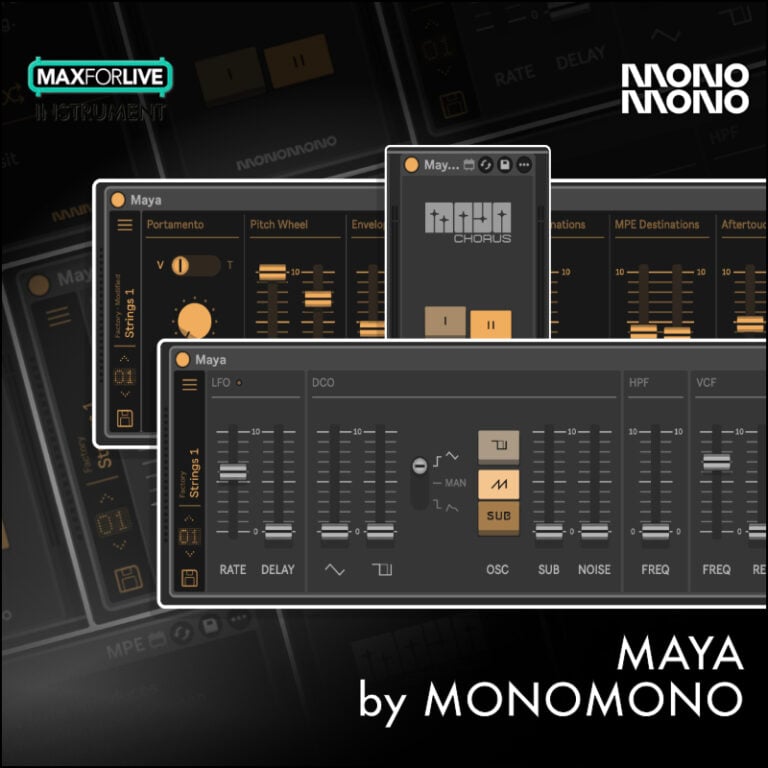
The good news is that several retailers make this process easier. On the Isotonik Studios website, there’s a dedicated Ableton Push 3 Standalone section that showcases all compatible devices. This curated collection takes the guesswork out of shopping and ensures you’re investing in devices that will definitely work with your setup.
Another excellent resource is Fors, a company known for their high-quality Max for Live instruments and effects. When browsing their device catalog, simply scroll to the bottom of any product page to find a Push 3 compatibility indicator. This small but crucial detail can save you from the disappointment of purchasing a device only to discover it won’t run on your standalone unit.
Connecting Your Push 3 to Ableton Live
Once you’ve downloaded your Push 3-compatible Max for Live devices, the next step is connecting your standalone unit to Ableton Live. Open Ableton Live on your computer and ensure your Push 3 is connected via USB. The unit should appear in the connection panel within Live.
Click the connect button and a unique code will display on your Push 3 screen. Enter this code into Ableton Live to establish the connection. This pairing process creates a secure link between your standalone hardware and your computer, allowing you to transfer files seamlessly.
Navigating to the User Library
With your Push 3 connected, you need to locate the correct destination folder for your Max for Live devices. In Ableton Live’s browser, navigate to the User Library section for your Push 3. You’ll find this in the left sidebar once your unit is connected.
Within the User Library, locate the Presets folder. This is where all your Max for Live devices will live on the Push 3. While you can simply drag devices directly into this Presets folder, there’s a better way to stay organized as your collection grows.
Organizing Your Max for Live Devices
As your Max for Live collection expands, organization becomes crucial. Instead of dumping all your devices into the root Presets folder, create a dedicated Max for Live folder to keep everything tidy. Simply right-click on the Presets folder and select “New Folder.”
From here, you can create additional subfolders based on manufacturer, device type, or however you prefer to organize your workflow. For example, you might create separate folders for Fors devices, Isotonik Studios products, and other third-party developers. This folder structure makes finding the right device much faster when you’re in the creative flow.
Installing a New Device
Installing a Max for Live device is remarkably simple once your folder structure is in place. After downloading a device to your computer, locate the file and drag it directly into your chosen folder within the Push 3’s User Library in Ableton Live. The device will automatically transfer to your standalone unit.
The video demonstrates this process using Push Mute, a device that brings Elektron Analog Rytm-style muting functionality to Push 3’s drum pads. Simply drag the device file into your Max for Live folder, and it’s immediately available on your standalone hardware.
Loading Devices on Push 3 Standalone
Now for the fun part – actually using your newly transferred devices. On your Push 3, select the track where you want to load the device and ensure you’re in device view mode. Press the plus button to access the device browser.
Navigate to Device, then select Max for Live from the menu. Here you’ll see all the Max for Live devices you’ve transferred to your User Library. While the folder organization you created in Live’s browser won’t be visible on the Push 3 itself, all your devices will be listed alphabetically, making them easy to locate.
Scroll through the list to find your desired device and press enter or push in on the jog wheel to load it onto your track. The device is now active and ready to use in your standalone setup.
Tips for Max for Live Device Management
As you build your Push 3 Max for Live collection, keep these best practices in mind. Regularly review compatibility before purchasing new devices to avoid disappointment. Take time to organize your devices into logical folders – your future self will thank you when you’re searching for a specific tool mid-session.
Consider creating folders based on your workflow. You might organize by device type such as instruments, effects, sequencers, or utilities. Alternatively, organize by manufacturer if you tend to gravitate toward specific developers whose workflow matches yours.
The standalone Push 3 opens up incredible creative possibilities, especially when combined with the vast ecosystem of Max for Live devices. By following this transfer process and maintaining good organizational habits, you’ll have instant access to your entire Max for Live arsenal without needing a computer.